
BEST Corn Relish

This post may contain affiliate links. See my disclosure policy.
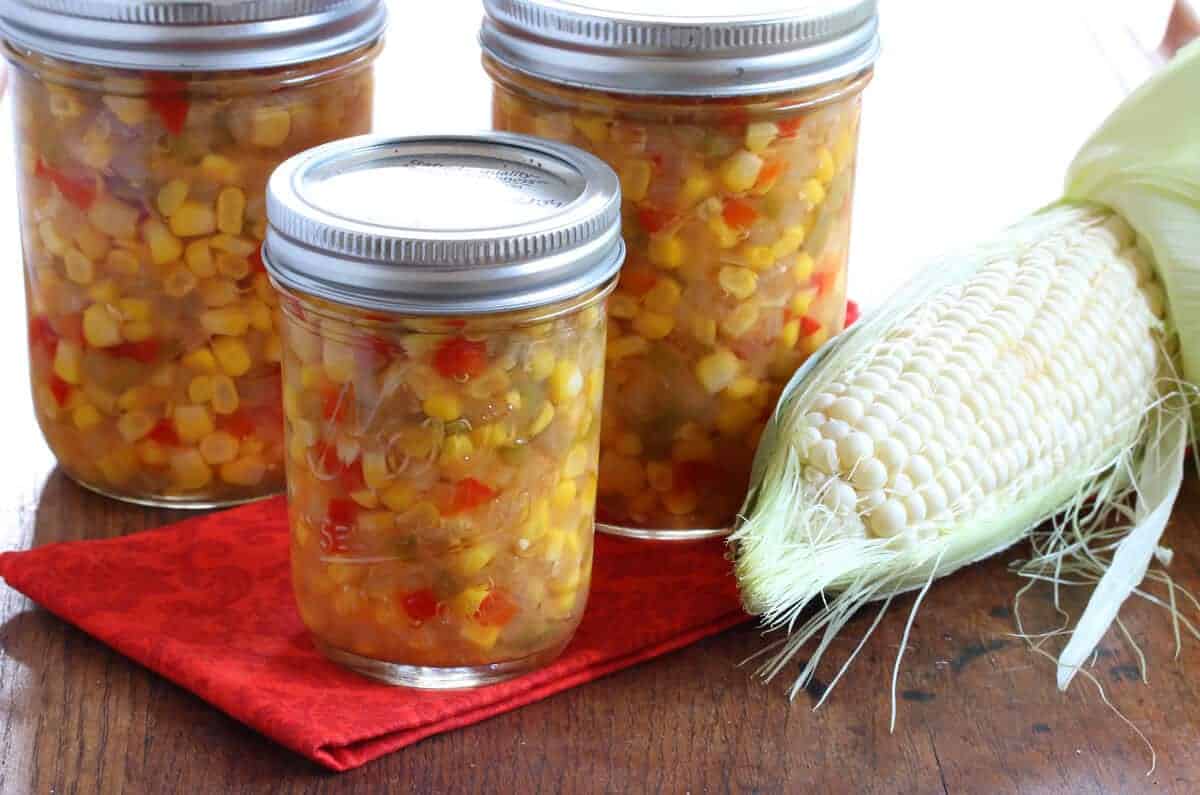
This homemade Corn Relish recipe is superbly delicious, fabulously versatile, and comes together in a snap! We provide canning instructions so you can preserve the taste of summer corn all year long!
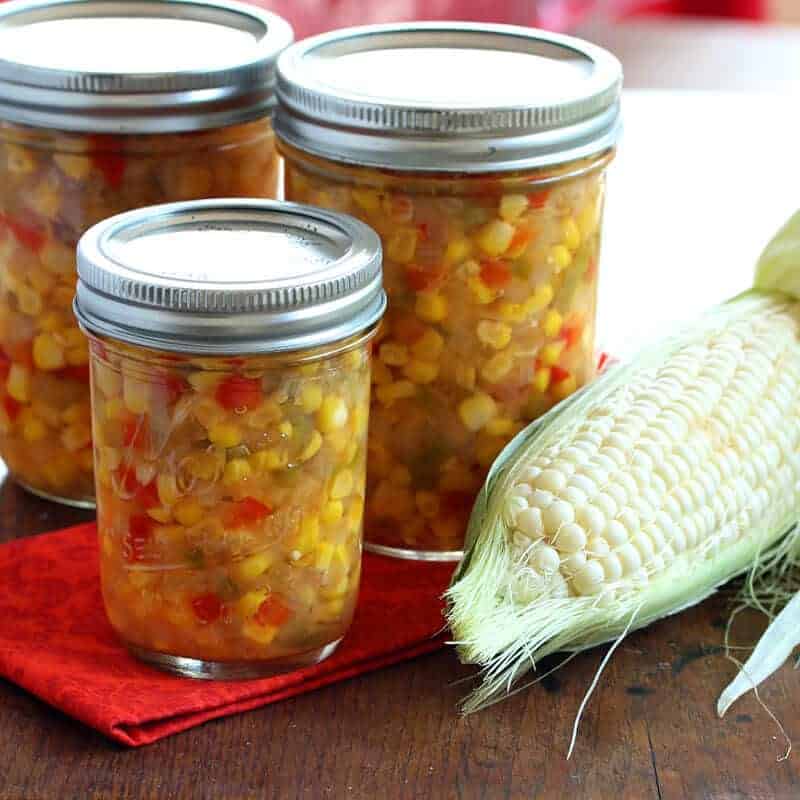
One of the things I love about canning is that it enables you to enjoy the fresh flavors of Summer produce long after the growing season is over. It’s also a great way to make use of sales when you can buy in bulk for a good price and especially if you have your own garden or fruit trees. And of course there are few things as satisfying as walking into your pantry or out to your garage shelf and seeing jars and jars of homemade goods ready for your family to enjoy. And seeing jars of homemade sweet corn relish is something I get especially excited about!
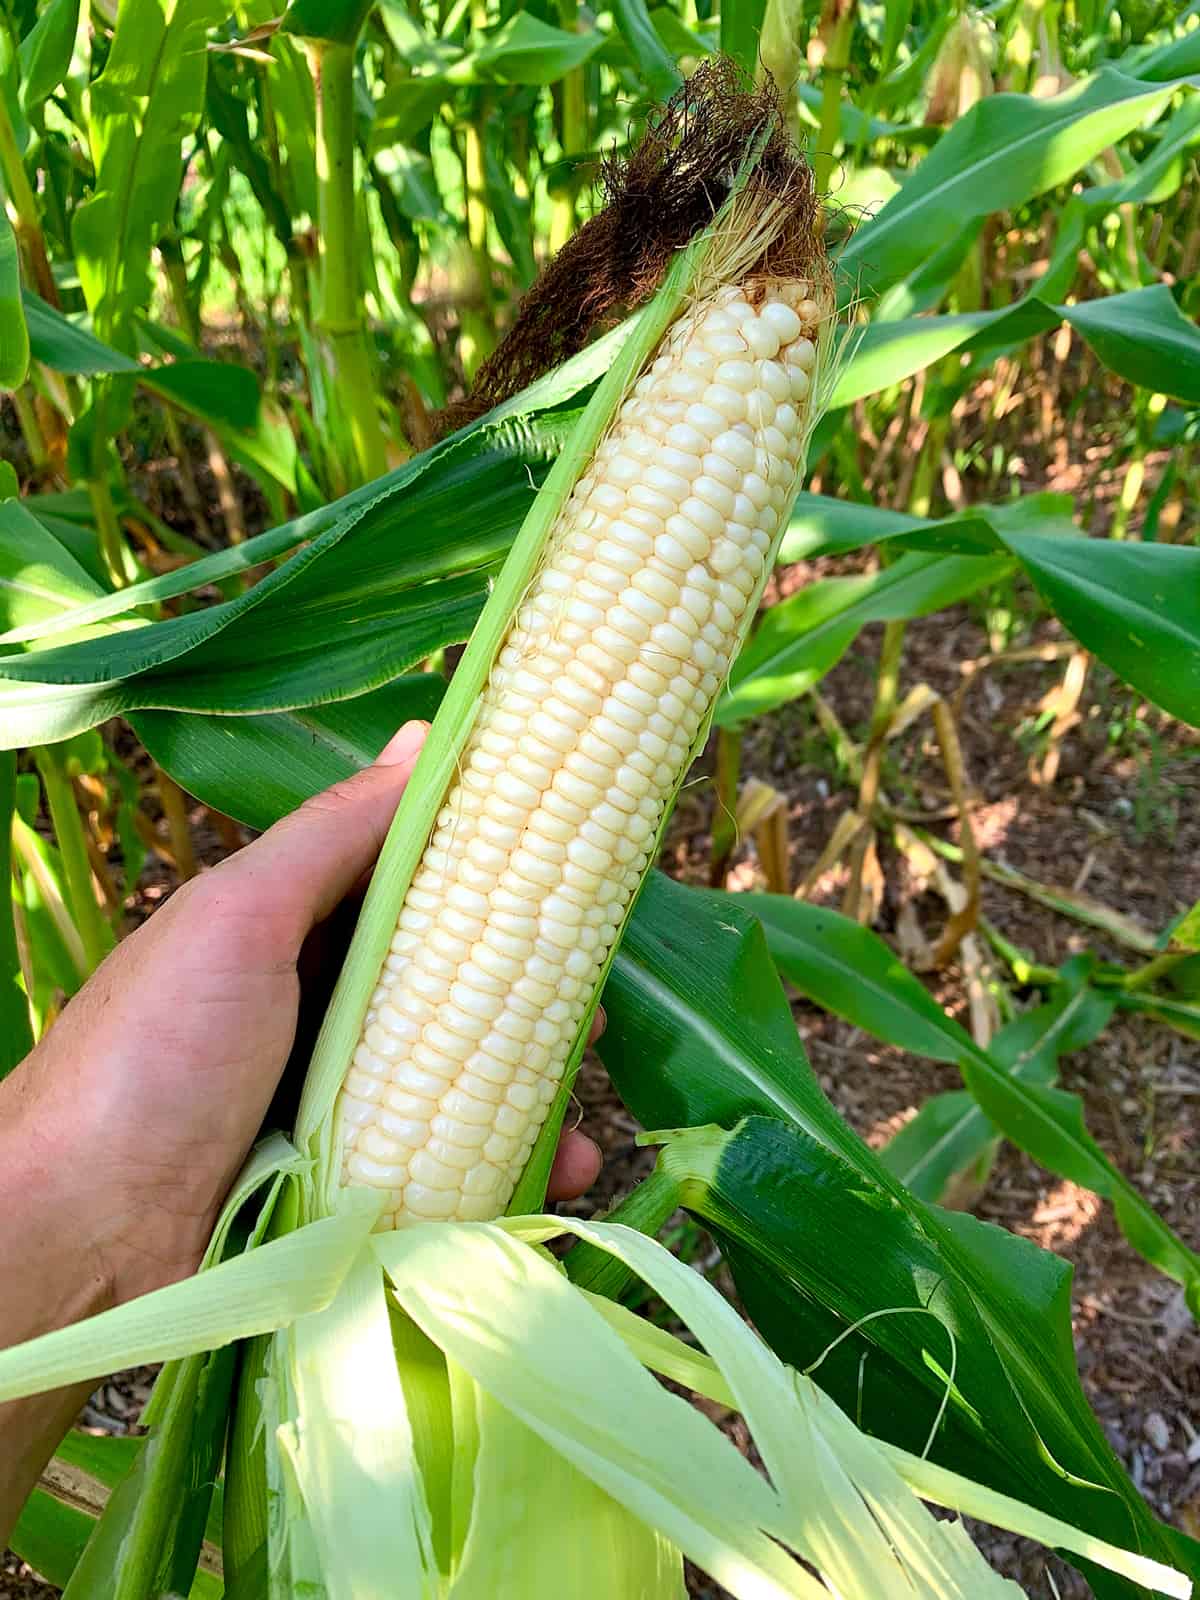
This year we celebrated our first harvest of homegrown sweet corn and let me tell you, what a celebration it was! The ears of heirloom sweet corn couldn’t have been more picture perfect and the flavor was as good as the best corn we’ve had anywhere. We harvest just shy of 200 ears of corn, shucked them all, blanched and froze a lot of cobs and froze the rest of creamed corn. But not before setting some aside to make our favorite sweet corn relish!

How Long Does Corn Relish Keep?
If you follow the canning directions and keep the jars stored in a cool, dark place the corn relish will keep for a year. Once opened keep the jars in the fridge and use within 2 months.
How to Use Corn Relish
Corn relish can be used in a variety of ways to add a tangy and sweet flavor to your dishes. Here are a few ways to use corn relish:
- Topping for Grilled Meat, Chicken, Burgers, Hot Dogs, and Seafood
- Tacos, Burritos, Quesadillas
- Salads: It’s great in both leafy green salads and pasta salads
- Sandwiches and Wraps
- A dip for tortilla chips
- Baked Potatoes
- Bruschetta
- Scrambled Eggs or Omelets
- Rice and Grain Bowls
Corn Relish Recipe
Let’s get started!
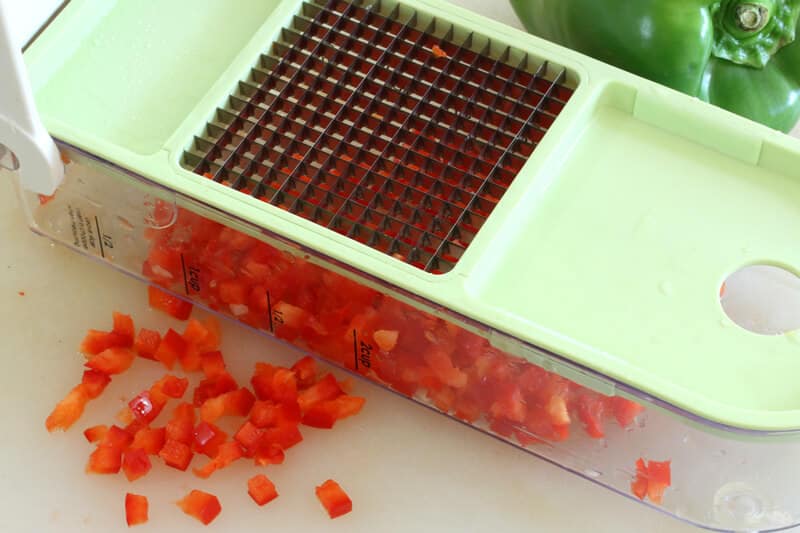
Something that isn’t remotely necessary but that I’m kind of OCD about it getting all the veggies chopped uniformly. You can chop by hand or use a food processor but appearance-wise relishes just look so much nicer when the veggies are all uniform in size and shape. A gadget that my mother-in-law got me as a gift a few years ago and that I love to use for purposes like this is the Vidalia Chop Wizard, which doesn’t appear to be available anymore, but this vegetable chopper does the same thing plus has a lot of additional features. It enables you to chop your veggies in perfectly uniform sizes.
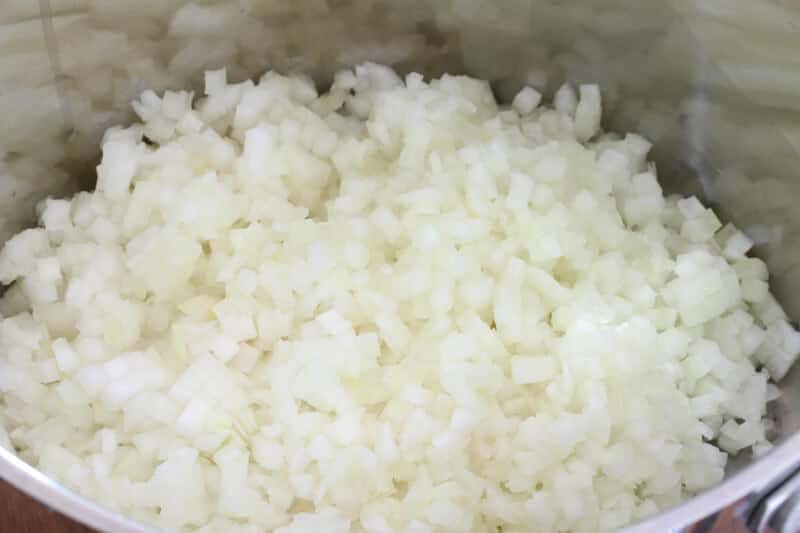
Finely chop the onions.
Do the same with the red and green bell peppers and the celery ribs.
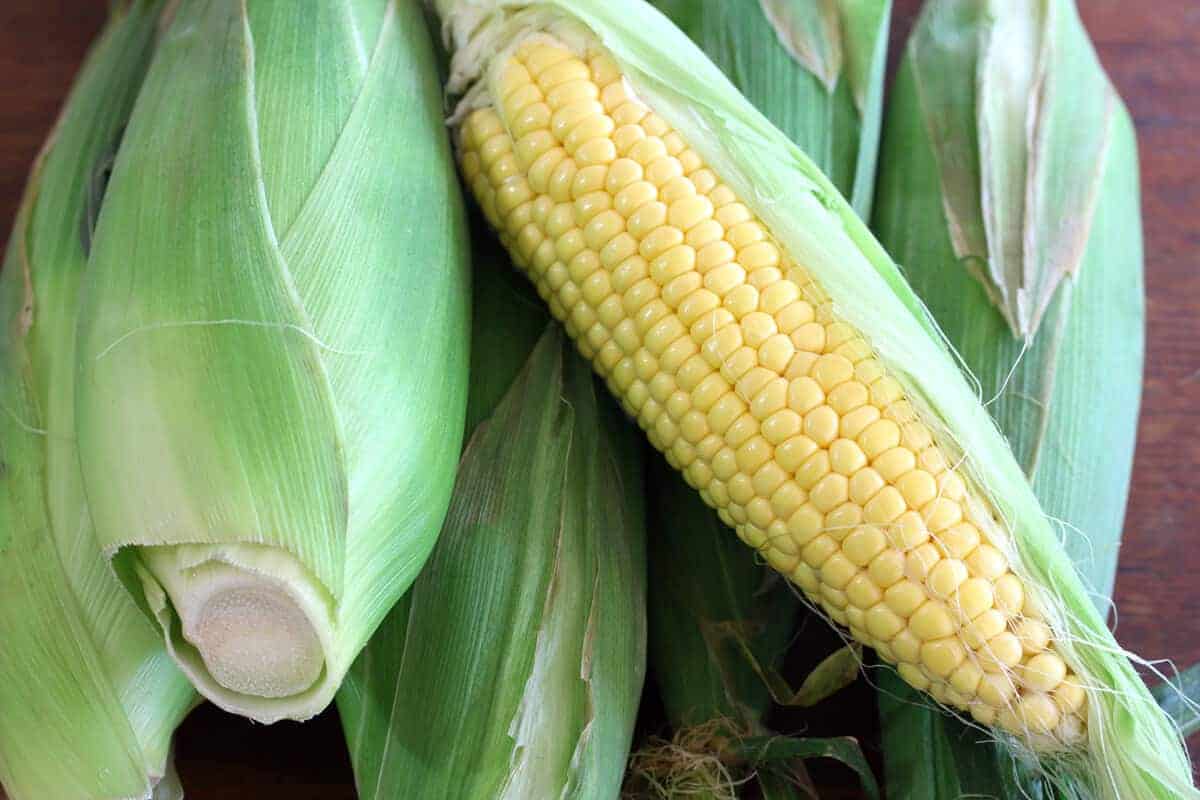
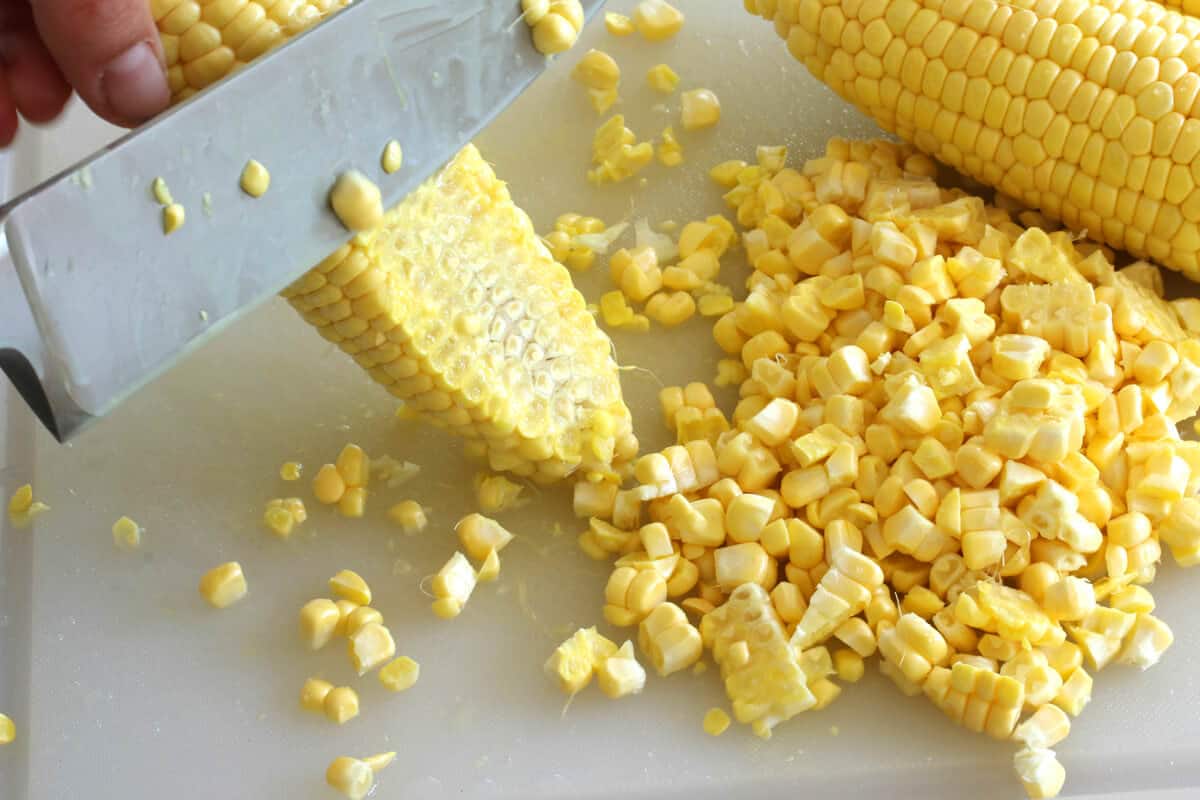
Remove the husks and silk from the corn and cut the kernels off the cobs.
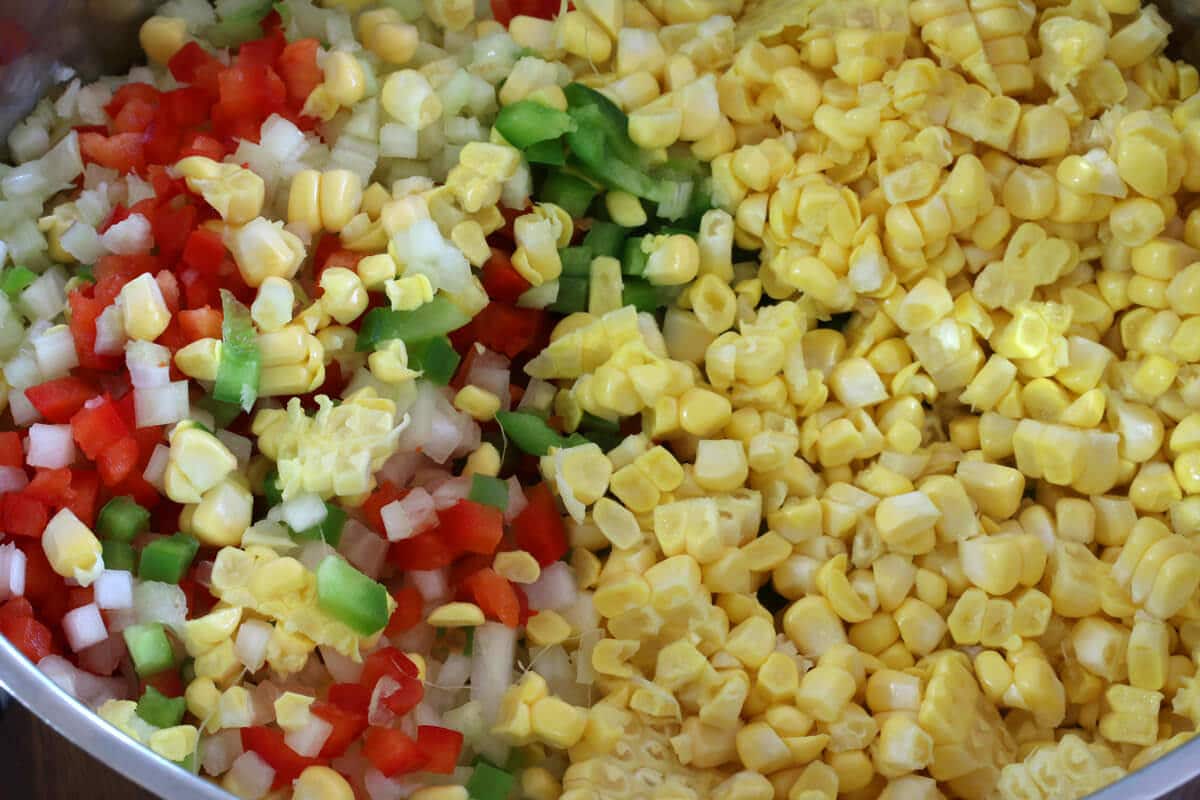
Put everything in a pot.
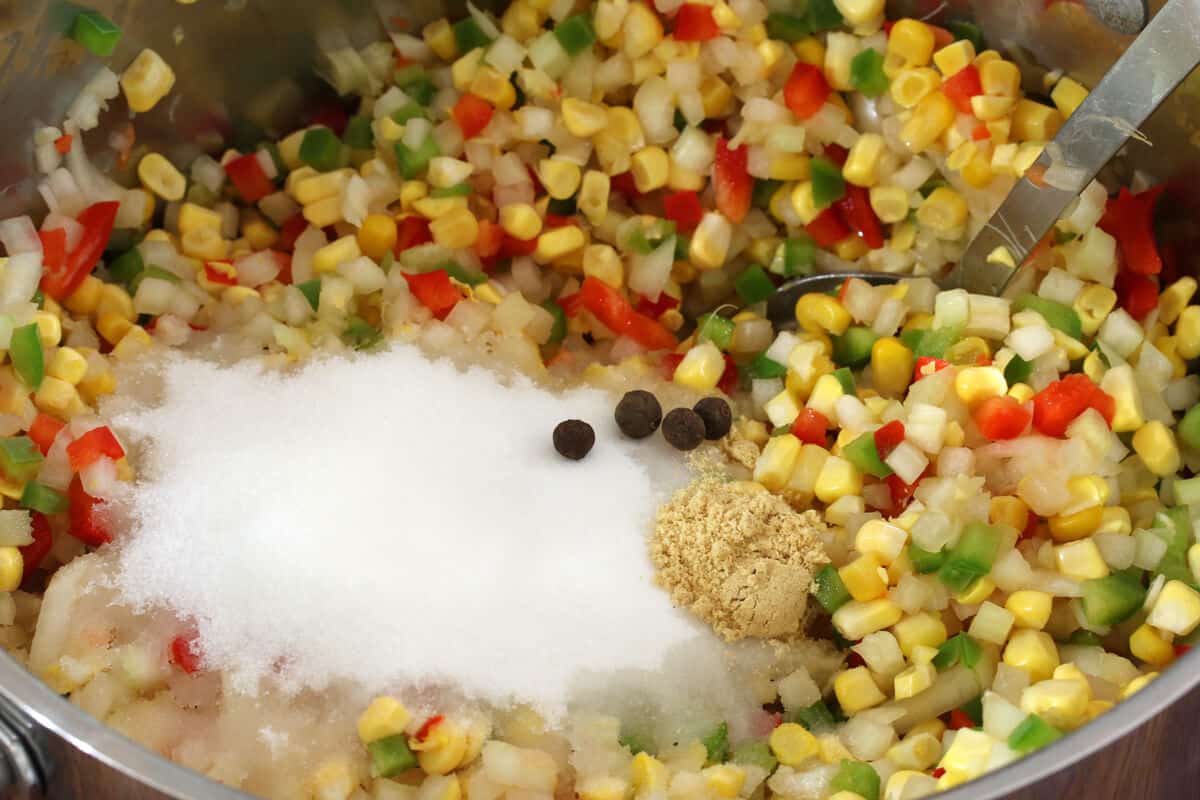
Add all remaining ingredients and bring it to a boil, stirring to dissolve the sugar.
Reduce the heat and simmer uncovered for about 20 minutes until the vegetables are tender.
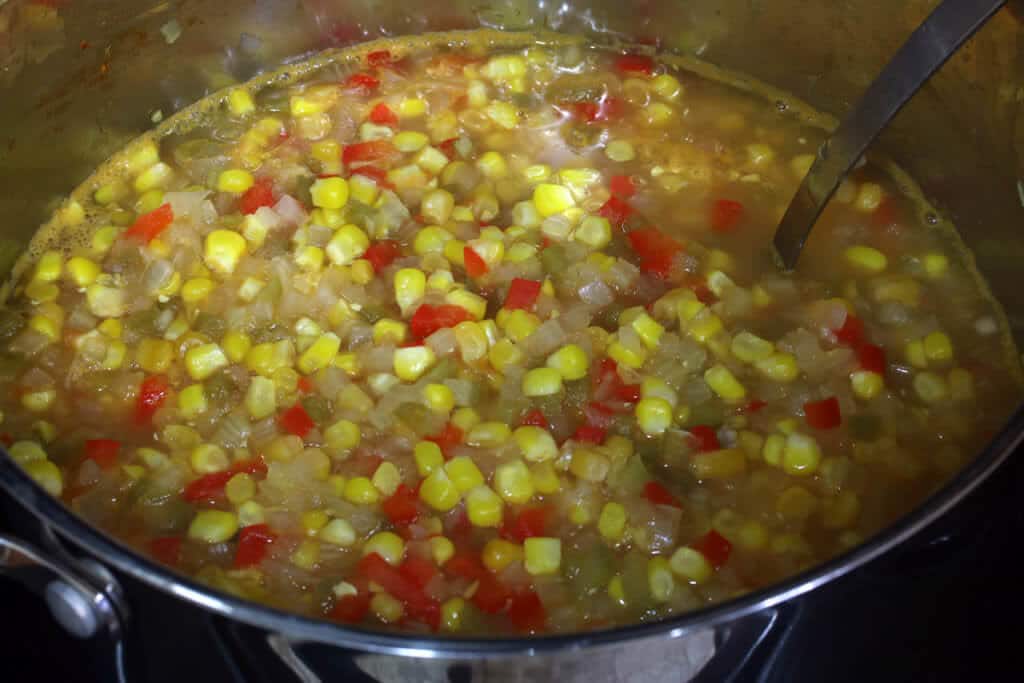
Spoon the mixture into hot sterilized jars leaving 1/4 inch of head space and seal with lids. Place in a boiling water bath for 10 minutes.
Here is the canner I use (I have an older model) and it comes with all the accessories: Granite Ware Enamel-on-Steel Canning Kit
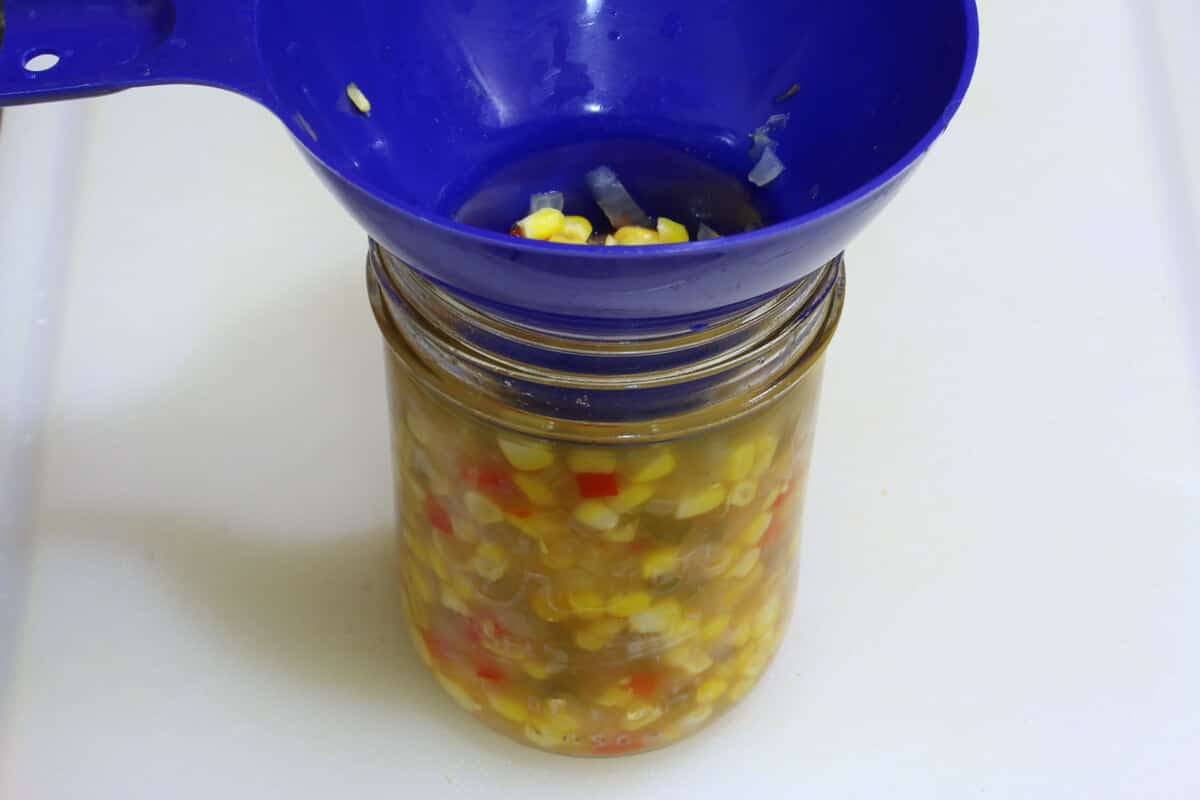
Wait a week or two before eating the relish to allow time for the vinegar to mellow out.
Keep the jars stored in a cool dark place. They’ll keep for at least a year. Once opened, store in the fridge and use within 2 months.
Enjoy!
For more pickled favorites try my:
- Giardiniera
- Pickled Carrots
- Dill Pickle Relish
- Sweet Pickle Relish
- Branston Pickle
- Sweet Pepper and Onion Relish
- English Pickled Onions
- Pickled Red Onions
- Pickled Pepperoncini Peppers
- Pickled Jalapenos
- Pickled Banana Peppers
- Pickled Green Beans
- Pickled Okra
- Pickled Asparagus
- Pickled Turnips
- Pickled Peppers
- Pickled Beets
Save This Recipe
BEST Corn Relish
Ingredients
- 10 fresh ears of sweet yellow corn , husks and silk removed, slice kernels off the cob with a sharp knife
- 2 large red bell peppers , cored, and finely chopped
- 2 large green bell peppers , cored and finely chopped
- 8 ribs celery , finely chopped
- 1 large yellow or sweet onion , finely chopped
- 4 cups apple cider vinegar (5%)
- 2 cups sugar
- 1 tablespoon ground mustard
- 3 teaspoons salt
- 4 whole allspice berries
Instructions
- Combine all the ingredients in a pot and bring to a boil, stirring until the sugar is dissolved. Reduce the heat to medium and simmer uncovered for about 20 minutes until the vegetables are tender.
- Ladle the relish into hot sterilized jars and seal with lids. Process the jars in a water bath canner for 10 minutes. Carefully remove the jars and let them sit undisturbed for 24 hours before storing them. Note: Wait a week or two before eating the relish to allow time for the vinegar to mellow out and for the relish to further thicken.
- Keep the jars stored in a dark, cool place. Will keep at least one year. Once opened, store in the fridge for up to two months.Makes approximately 8 pints.
Nutrition
Originally published on The Daring Gourmet July 19, 2015

Hi, I’m Kimberly Killebrew and welcome to Daring Gourmet where you'll find delicious originals, revitalized classics, and simply downright good eats from around the world! Originally from Germany, later raised in England, world-traveled, and now living in the U.S., from my globally-influenced kitchen I invite you to tour the world through your taste buds!

















Most of my liquid boiled off while heating it, is it best to add more before canning?
Hi Christina, wow, that was a lot of liquid that boiled off! If there’s still a good amount of the brine left there’s no need to add more. If the relish is pretty dry then you could add some more vinegar (not water, or you’ll dilute the pH level), but it’s going to make the flavor pretty tangy. You might want to add a little more sugar to the vinegar as well.
i dont have a hot bath canner, can I boil longer ot whats the alternative? Thanks
Hi B, you can use a regular heavy-bottomed pot, the difference with the dedicated canner is that it comes with a rack that you set the jars in the keep the glass from touching the bottom of the pan or from hitting against each other, otherwise they’ll break during the boiling process. You could rig a regular pot by lining it with a thick layer of clean towels/dish cloths to set the jars on and also place cloths in between all the jars so that they can’t rattle together and hit each other. The boiling time will be the same as with a dedicated water bath canner. Put the jars in, bring the water to a rapid boil and start the timer.
Can I use frozen corn and if so how much?
Hi Mia, I haven’t measured it, but according to a few online sources, 10 ears of corn are the equivalent of roughly 5-7 cups of corn.
Made last year and couldn’t stop eating it…will put in half pints this year to hopefully curb my eating it all so fast!
Oh that’s fantastic, thank you so you much for the positive feedback, Debbie! <3
Can i prep all ingredients and leave in refrigerator and cook tomorrow?
Absolutely, Debbie!
What about using white vinegar instead of apple cider vinegar?
Hi Steve, from a safety standpoint that’s fine but from a flavor standpoint I don’t recommend it, the flavor will be too harsh.
How many pints does this make?
Hi Bon, this makes about 8 pints.
What spice do I use to make corn relish bright color, thanks
Hi Gloria, the commercial stuff includes additives/preservatives to make the colors more vibrant, this does not. A spice that would significantly alter the color and give it more of an orange hue would be some turmeric, though I wouldn’t consider that an enhancement.